In this tutorial, we’ll learn how to use AI tools like ClickUp AI to generate creative graphic design concepts for articles. These AI writing assistants can help with all sorts of tasks, from writing summaries to brainstorming ideas. Today, we’ll focus specifically on how they can aid in the graphic design process to create compelling visuals that complement your written content.
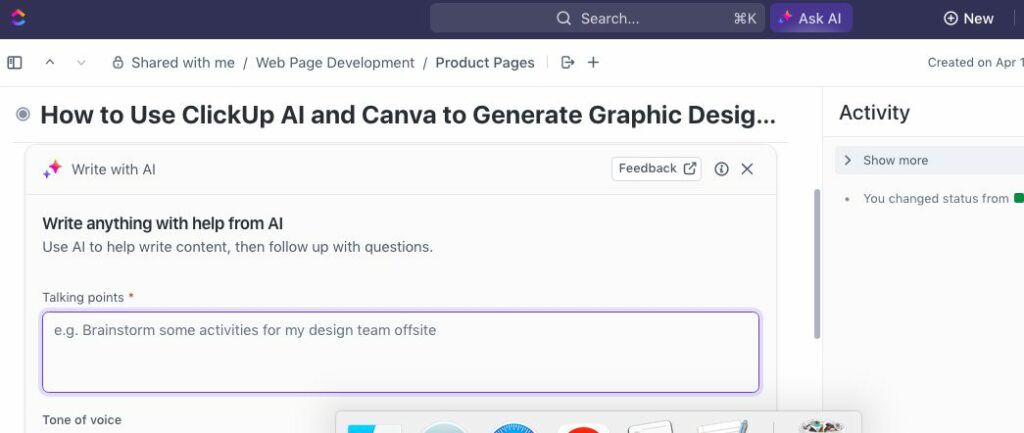
Open the ClickUp Task
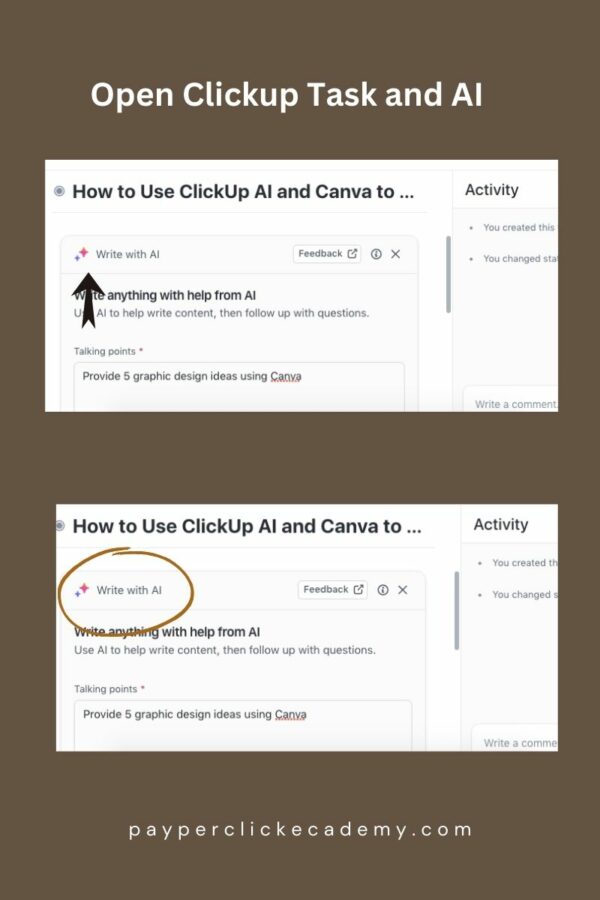
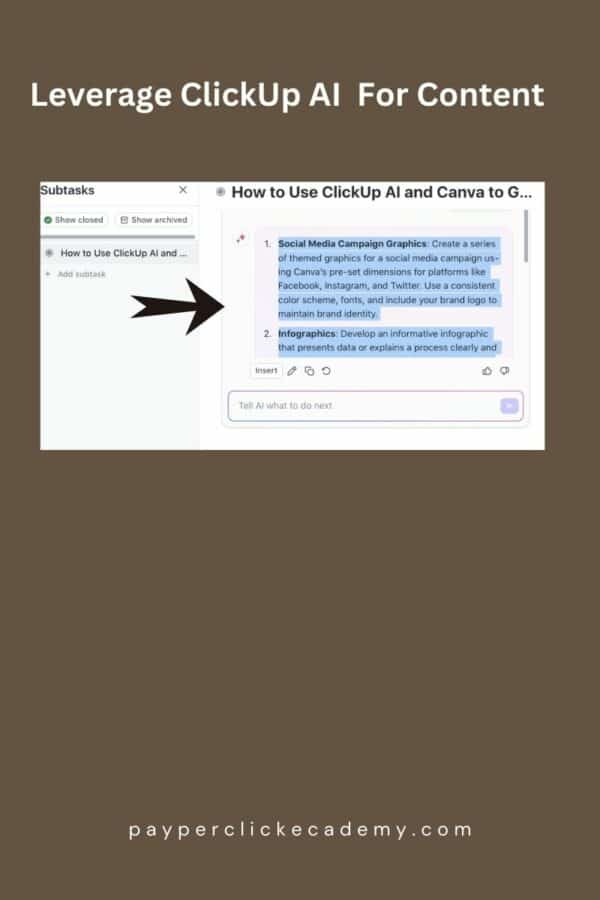
To start, open ClickUp and navigate to the task or document you’re working on. You can access the AI tools by clicking the button in the top right corner.
Type in your prompt in the description box: “Provide 5 graphic design ideas using Canva for an article titled [insert article title]”. The AI will then generate a list of concepts to consider.
For our example article about managing jet lag across time zones, some of the AI-generated ideas include:
- A “before and after” comparison image using stock photos, arranged into a graphic using Canva
- A step-by-step visual guide
- A collage of relevant products, with the backgrounds removed, using a tool like PhotoRoom.
- A simple checklist
- A customized world map showing the different time zones
Let’s run with that last idea of a world time zone map. We can search for a suitable vector graphic or illustration on a stock image site.
Look for files that will be easy to edit and customize, such as Adobe Illustrator or high-quality image files. Download a couple of different file type options.
See Related: How to Refresh Content for SEO: A Guide to Content Strategy
Open Canva
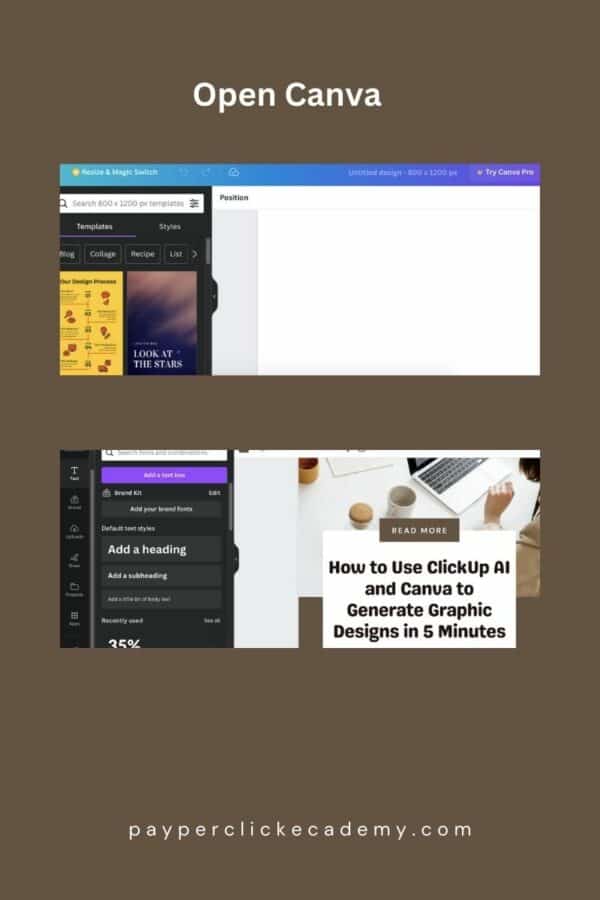
Then, open up Canva. You should be able to import Adobe Illustrator files to edit (assuming you have Illustrator installed).
If not, you can upload a high-res image file instead. Look for ways to customize the graphic to make it your own. This could include:
- Adding subtle effects like a drop shadow to give it more visual interest and depth
- Recoloring elements of the graphic to align with your brand colors
- Incorporating your logo, either in full color or a single-color version
- Resizing and repositioning elements for better visual balance
- Changing up the background color or adding a texture
Remember, the goal is to take a stock image and make it unique to your brand. Even simple tweaks can go a long way. Just check the licensing to confirm you can modify the file for your intended use case.
Leverage ClickUp AI for Additional Recommendations
After you have mocked up your base graphic in Canva, you can go back to ClickUp and ask the AI to provide additional details and recommendations on enhancing the image further. Our world map example suggests adding text call-outs to label key elements like the different time zones and titles.
We can execute on these ideas in Canva:
- Add a text box at the top for an eye-catching title related to the content
- Create additional text boxes to annotate the time zones and other important spots on the map
- Incorporate bullet points summarizing key tips from the article, like how to schedule flights to minimize jet lag
- Adjust fonts, sizes and weights for readability and visual interest
- Tweak spacing, alignment, and sizing of the different elements until the layout looks polished
Aim to carry through visual themes from the article where they make sense – colors, fonts, general style, etc. This helps create cohesion between the copy and graphics.
See Related: Best Content Writing Tools for SEO Domination
Tips for Tailoring the Design to Your Use Case
Feel free to go back and forth with the AI to refine and build on the design. The beauty of AI generation is that it can provide a starting point and offer up ideas you may not have considered, but ultimately, you’re the one directing the vision.
Optimize Background Colors
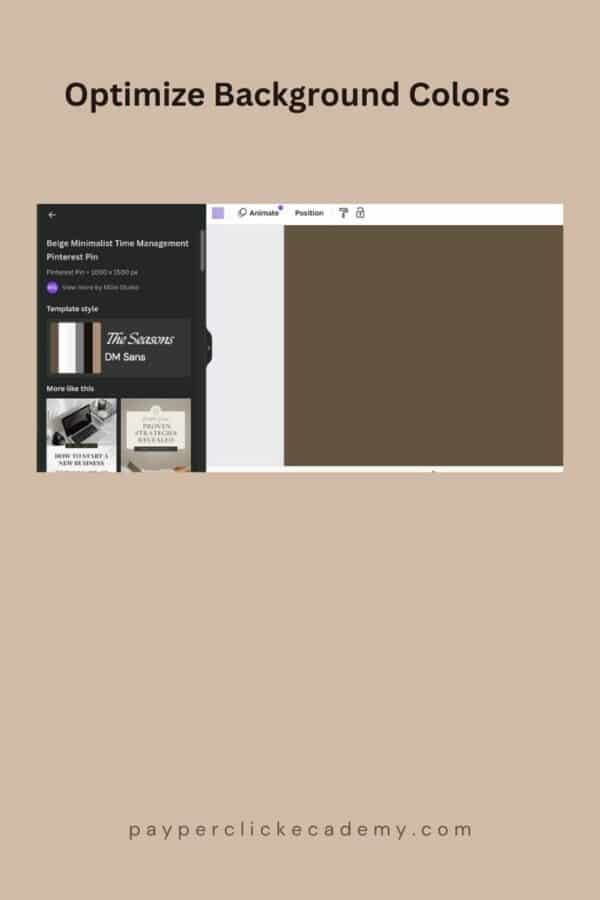
In Canva, don’t be afraid to experiment with different variations to see what works best. For example, you could try out several background colors or textures behind the map to set different moods.
Maybe a bright, energetic orange works well for this piece. Or if it’s meant to have a calming vibe, a more muted, desaturated blue could be effective. You won’t know until you play around with it.
Keep the Fonts Simple
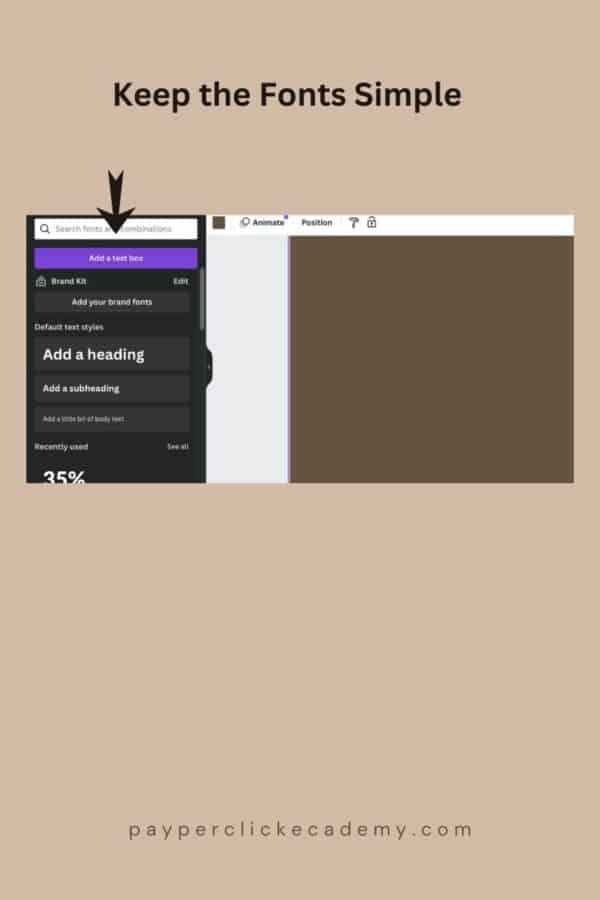
The same goes for typography – try out a few different font pairings to see what is most readable and in line with the article’s tone. Avoid using more than 2-3 fonts to keep it from looking cluttered. Adjust sizing and spacing until you find a hierarchy that works, with the title largest, then subheads and supporting text last.
Leverage Different Canva Layouts and Magic Resizing
If you’re struggling with layout, Canva has some helpful tools you can leverage. The “Layouts” section has pre-built templates to drop your elements into for foolproof alignment and spacing.
Just replace the placeholder text and images with your own. The “Positions” panel lets you quickly align and distribute items symmetrically.
Make Excellent Designs in Templates
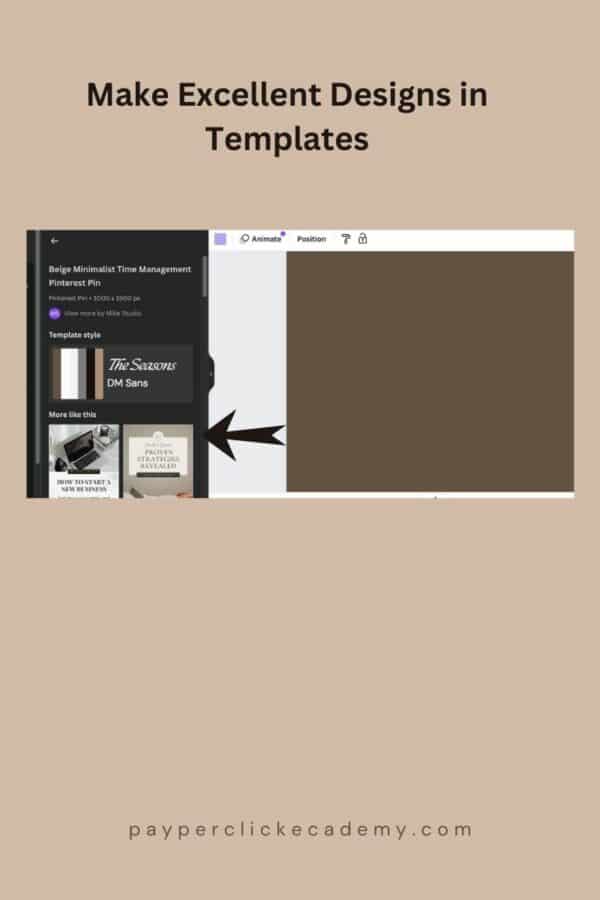
Templates are also useful for creating multiple graphics for the same article or a series of related articles. Developing a consistent look and feel helps with brand recognition and cohesion. Just create one master template, save a copy, and then swap out the content for each new version.
Above all, keep the visuals closely tied to the article’s narrative. Every creative choice, from the images to the colors to the text, should support and enhance the key messages you’re trying to convey.
Sometimes, a simple, type-driven graphic is the way to go. Other times, a bolder, more artistic direction will be the most impactful.
See Related: Best Marketing Tools for Small Business
White/Blank Space is a Good Thing (But Not Too Much of It)
Don’t neglect the power of white space, either – avoid overcrowding the design to fill space. Let it breathe. When done thoughtfully, a clean, minimal aesthetic can have just as much impact as a more elaborately stylized image.
Use ClickUp AI at Any Point During the Design Process
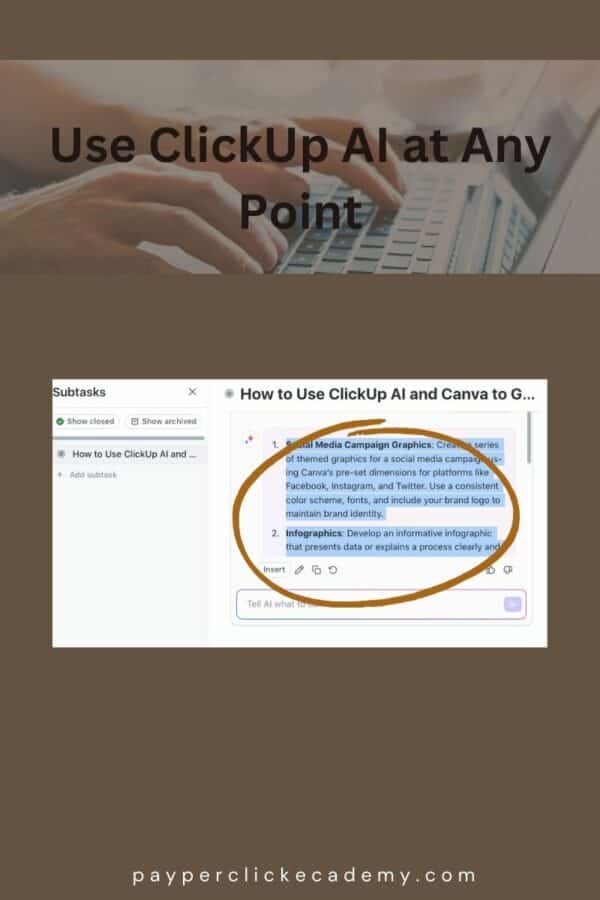
Circling back to the AI component, remember you can use these tools at any stage of the graphic design process. While we started with idea generation in this tutorial, you can tap them for more targeted feedback once you’ve created a draft. Ask for suggestions on polishing the design, what’s working well, and what could be improved.
That extra input can lend a fresh perspective and help you refine your work. Sometimes, when staring at a design for too long, it’s hard to be objective about what it needs. AI can offer constructive solutions that you may not see on your own.
AI tools like ClickUp’s Magic Write and Canva’s Magic Resize can be incredibly helpful aids in the graphic design process when used strategically. They’re great for sparking initial concepts and generating rough layouts from which to work. Just remember, they’re meant to support your creativity, not substitute for it entirely.
Use them to inspire and accelerate your workflow while putting your spin and creative direction on things. Unlike AI-generated afterthoughts, your article’s visuals should always feel authentic and intentional. When you invest that extra time and care into developing graphics that perfectly suit the narrative, it shows and makes for a much more engaging experience for your readers.

Related Resources